Easy & Fluffy Banana Nut Muffins

As previously mentioned, I was lucky enough to be chosen to be an advocate for @FamilyRated’s Becel program and the second product I was given to try was Becel’s Salted Margarine sticks. Let me tell you… it was a game changer! I love baking (I mean, I did study pastry for about a year and a half) but I love it even more when it’s quick and easy, and often times I’m craving sweet later at night (like most people). I try not to have too much junk in our pantry (you know… to avoid temptation and whatnot) and sometimes fruit just can’t curb the craving, but to make a dessert at 9:30pm and still have to wait for the butter to soften just makes me hangry. I don’t know how it took so long to create this but BECEL has done it! These margarine sticks can be used straight from the fridge, no need to wait for what seems to be the equivalent of watching paint dry and creates the fluffiest texture to your baked goods without compromising the recipe. So here’s how easy it is to use Becel’s Salted Margarine sticks :

Ingredients:

1 stick Becel Salted Margarine

1 1/4 C. Brown Sugar

1 tsp. Vanilla Extract

2 Eggs

3 Ripe Bananas

2 C. Flour (I use Pastry flour but there won’t be a difference in this case)

1/2 tsp. Salt

1/2 tsp. Baking Soda

1 C. Walnuts (I enjoy a very nutty banana bread – but put as you wish)

Directions:

  1. Preheat oven to 350*F and line cupcake tins.
  2. In a mixer, cream together Becel’s margarine stick (yes straight from the fridge – trust me) and brown sugar.
  3. Add in eggs and vanilla and mix until all combined.
  4. In a seperate bowl, mix together all dry ingredients.
  5. In thirds, alternate adding in the dry ingredients, bananas and milk to the mixture.
  6. Stir in nuts.
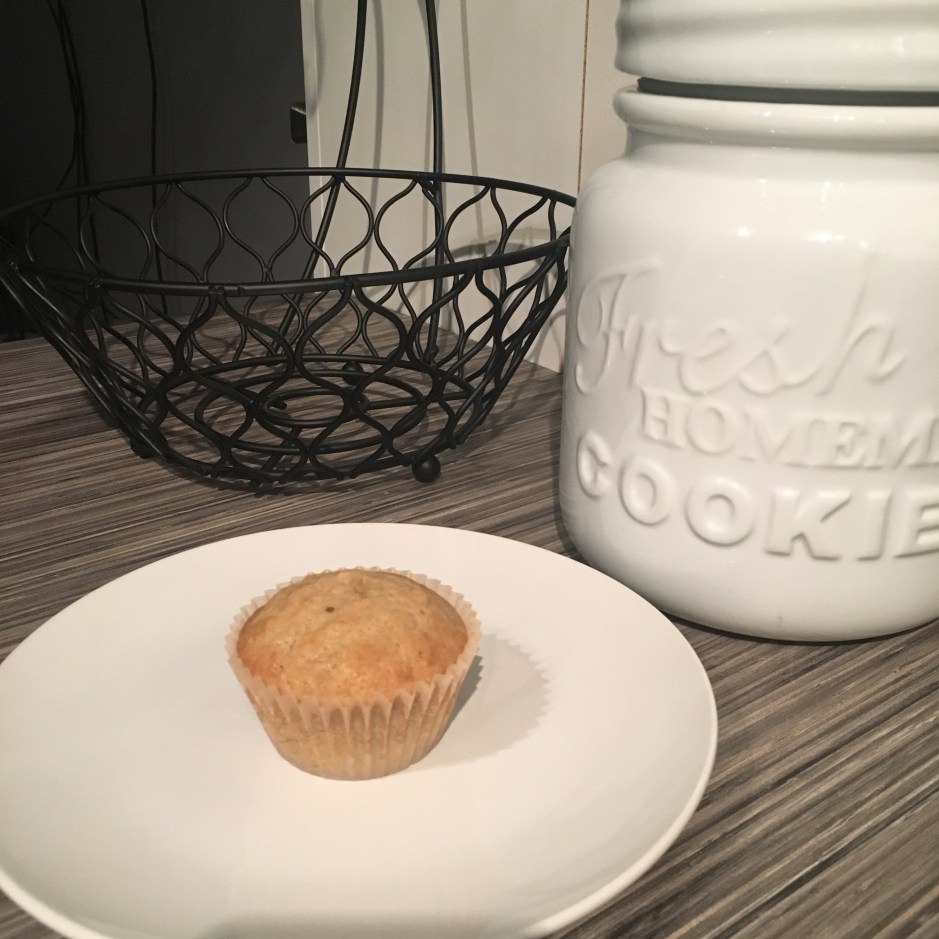
  7. Fill cupcake tins 2/3 of the way and bake in the oven for 20-25 minutes for perfectly golden muffins.

**Note: You can also add the batter to a greased loaf pan and make it into a true banana bread. In that case, bake for 20 minutes in a 350*F oven, then lower the oven to 325*F and let it go another 20-25 minutes or until toothpick comes out clean when poked into the center of the loaf.**

These are honestly the easiest muffins to make and so versatile. You can have them for dessert or wrap them individually and have them as a snack on-the-go. You can maybe even substitute some nuts for some oats and make it more of a quick breakfast option. Whatever you choose, don’t forget so send me your feedback and some pictures if you get a craving like I did for this quick “midnight” snack.

Thanks for baking,

alongwithb.

Tomato & Mushroom Rosé Pasta Sauce

I was chosen by @FamilyRated to be one of their advocates for a couple new Becel products and anyone who knows me knows I love being in the kitchen, testing out new products and creating or tweaking recipes, so I was up for the challenge to incorporate Becel’s Avo Plus oil and Becel’s Salted Margarine sticks into some recipes.

The first product I was intrigued to try was the Avo Plus oil… I’m kind of an olive snob and am very particular about the flavour of the oils I typically use. Now the advantage of this particular oil is that it is a combination of canola, avocado, and mid-oleic sunflower oil which means it heats up faster and is thinner than your conventional olive oil (which makes it better for frying), has no trans-fats, is low in saturated fat and is a good source of Omega 3 & 6 (bonus)! Without further ado, here’s how I used it:

Ingredients:

2 tbsps Becel’s Avo Plus oil

2 Onions (small)

2-3 Garlic cloves (your preference)

1 pint Grape Tomatoes (or cherry tomatoes)

1 tbsp Basil

1 small can Tomato Paste (use photo as reference for what I mean by small)

1 C. 10% Cream

1 basket White Mushrooms (sliced)

Directions:

  1. Finely chop the onions and the garlic and toss them into a large sautée pan with Becel’s Avo Plus oil and let them cook down until onions are translucent.
  2. Add in halved tomatoes and let them cook down until the skin starts naturally peeling off and tomato juice starts filing the pan.
  3. Add in basil and salt/pepper to taste and stir for a couple of minutes until aromatic.
  4. Empty out can of tomato paste and cream and stir until perfectly combined.
  5. Lastly, put in the thinly sliced mushrooms and let simmer for about 10-15 minutes and BAM!

Boil up your favorite pasta and serve overtop or (as I prefer) mix it in completely with the sauce, top with some cheese if you’d like and enjoy!

Check out my next post to see how I used Becel’s Salted Margarine sticks and share some photos of how your Tomato & Mushroom Rosé sauce turned out. I’d love to see them all!

Thanks for cooking,

alongwithb.


Easy Rosemary Roasted Tomato Chicken Thighs

So like any Portuguese woman would tell you, this recipe is “very easy”… but this time it actually is. I make up all my recipes on the spot with whatever it is that inspires me! The first time I made this recipe was in the oven in a glass pyrex, and had been a bit more complex than this past time, and the flavor was the same even with my simplified method… even better!

First off, what you have to know is that I had made this at my Fiance and I’s house (very limited cooking appliances. You’ll come to understand why sooner or later). So all I had was an electric skillet..that’s it!

What you’ll need:

  • Kraft’s Sundried Tomato & Oregano dressing
  • Chicken thighs ( I used 6 thighs for the 2 of us)
  • Grape tomatoes
  • A whole head of garlic
  • 2 sprigs of fresh rosemary

Directions:

  1. Spread about 2-3 Tbs of the dressing on the bottom of the skillet.
  2. Place the thighs in the skillet making sure to swirl it around in the dressing so that the bottoms are well coated.
  3. Smash (not chop or dice, just one quick hit with the ball of your hand) every clove that is in the head of garlic (so to release all the flavor from it) and evenly distribute it in the skillet.
  4. Next off, drop in the cherry tomatoes to your desired preferences ( I love tomatoes so I put in the whole container).
  5. Peel the rosemary leaves off of both sprigs and sprinkle it over everything.
  6. Lastly, cover all of the ingredients in the skillet with enough dressing so as to ensure all the chicken is covered.
  7. Cover the skillet, set the skillet to 450F and let it cook for about 20 mins while flipping the chicken in between to make sure both sides are getting a nice color on them.
  8. I then lowered the temperature to 250F for another 10-15 mins to make sure the chicken would be tender (but to be honest chicken thighs are the most foolproof to cook of the poultry family).

To serve, I put the thighs on a plate and spooned all the sauce, garlic and tomatoes on top.

And Voila! An easy recipe idea for hump-day! Also, if you do decide to try it; tag me on instagram @brbd10 & hashtag #beingbrittney.

Bonne Appetit